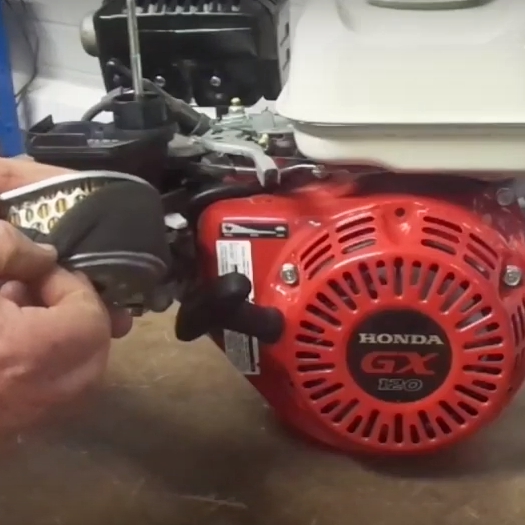
How to Change an Exhaust on a Honda GX120 Engine
In this video, we show you how to change the Exhaust Manifold on a Honda GX120 Engine.
Health & Safety Warning - Please ensure that you have safely prepared the machine and workspace. If you are unsure about any aspect of the task please seek professional advice.
Transcript
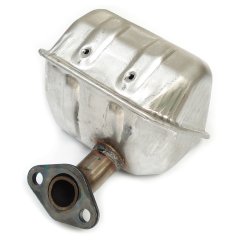
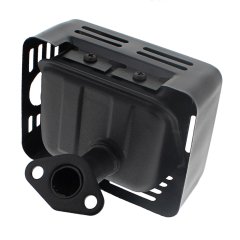
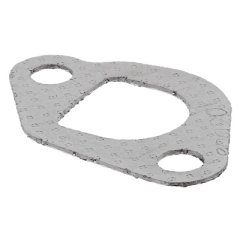
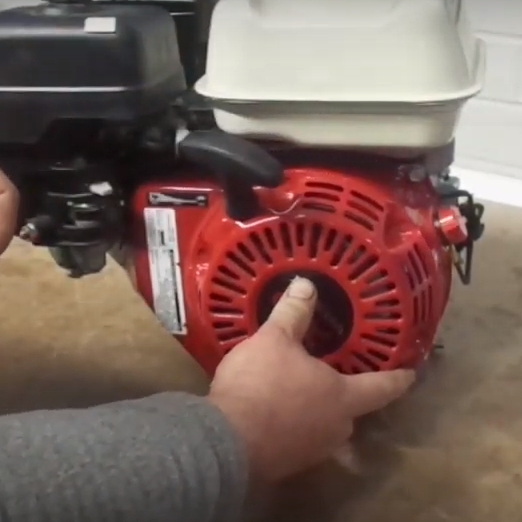
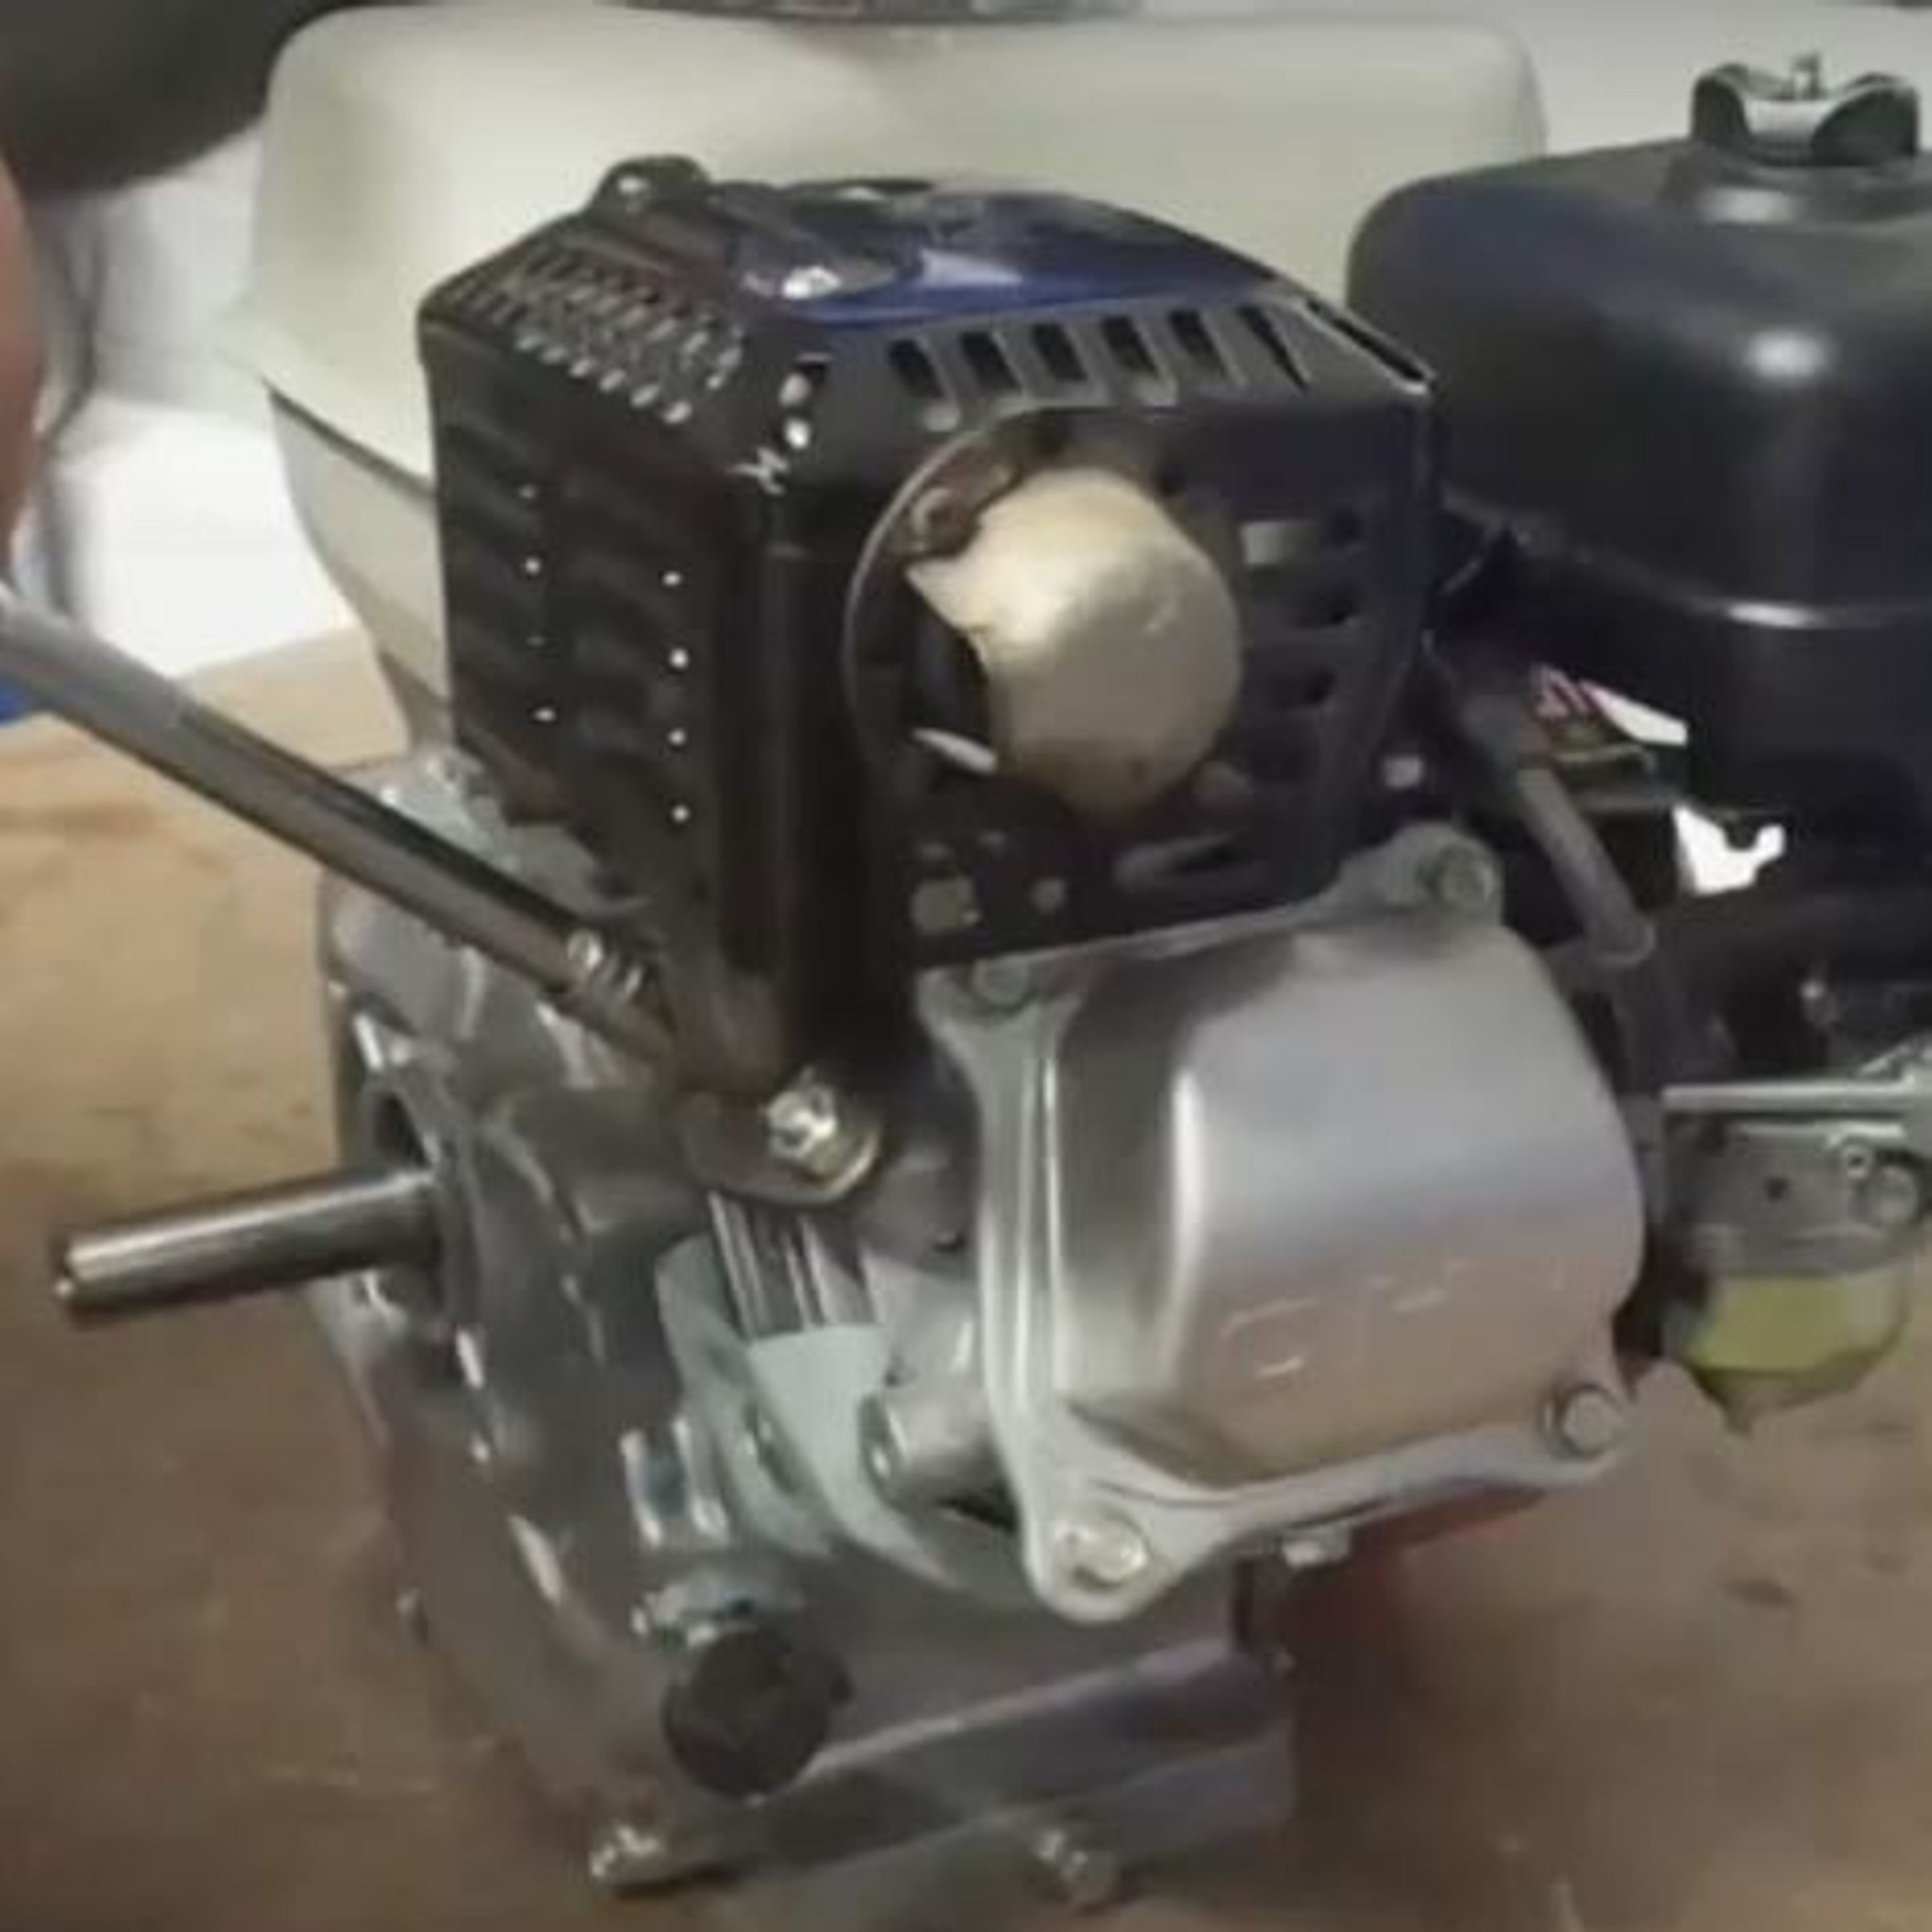
Today, we're going to change the Exhaust on a Honda GX120 Engine. First of all use a 12mm Hex Socket Spanner to remove the two bolts that hold the Exhaust in place. Once that's done you can remove the exhaust from the machine. It's good practice when replacing the exhaust to change the exhaust gasket as it compresses when fitted. Place the new gasket over the two studs, making sure it's seated correctly with the cut-out matching the shape of the port. Seat the exhaust over the studs and hand tighten the two nuts on. Return to tighten the two nuts with the 12mm Hex Socket Spanner. That's how you change the Exhaust Manifold on the Honda GX120. All the parts & tools needed for this task are listed in the description below.
Parts
Parts and tools included in the GX120 Engine how-to video.
- Exhaust Assy - 710 182
- Exhaust Gasket - 18381 ZH8 800
- Exhaust Silencer - 18310 ZF1 000
- Exhaust Silencer Guard - 18320 ZH8 W01
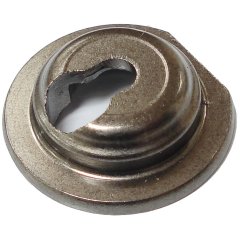
- Exhaust Valve Spring Retainer - 14773 ZE1 000
- Exhaust Deflector - 18331 883 810
- Exhaust Cover Self Tapping Screw - 90050 ZE1 000
- Blue Nitrile Disposable Gloves - Various Sizes
- Socket Set - STA086775